
Yes, installing smart ceiling lights yourself is generally quite doable for anyone with basic DIY skills and an understanding of electrical safety. It’s often simpler than you might imagine, mostly involving replacing your old fixture with a new one that connects to your home’s Wi-Fi. The key is to be prepared, follow safety protocols, and have the right tools on hand.
Getting Started: Planning Your Smart Lighting Upgrade
Before you even think about screwdrivers and wires, a little upfront planning will save you a lot of headaches (and potential trips to the hardware store). Smart lighting isn’t just about screwing in a bulb; it’s about integrating technology into your home’s infrastructure.
Understanding Your Current Setup
Take a good look at your existing ceiling lights Foremoon. Are they flush mounts, pendants, recessed cans, or track lighting? This will dictate what kind of smart fixture you’ll need. More importantly, identify the type of electrical box they’re connected to. Most residential ceiling lights are connected to a standard junction box, which is a good sign. If you have older wiring or something unusual, it might be worth consulting an electrician for a quick assessment. Also, consider the switch: is it a standard toggle, a dimmer, or a three-way switch (controlling the light from two locations)? Some smart lights require a continuous power supply, meaning your existing switch might need to be bypassed or replaced with a smart switch that complements your new fixture.
Choosing the Right Smart Lights
This is where the fun begins. Smart ceiling lights come in various forms:
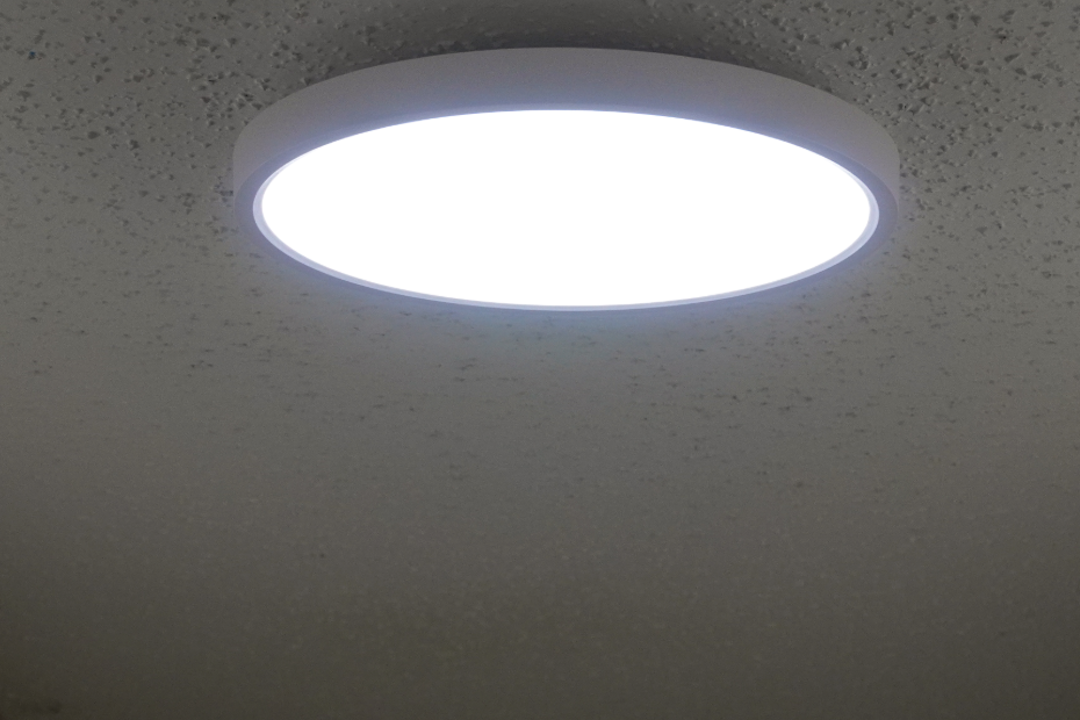
- Integrated fixtures: These are complete units where the smart technology and LEDs are built directly into the light fixture itself. They offer the most seamless look and often have advanced features like tunable white light or RGB color. Examples include many flush-mount panels or decorative fixtures.
- Smart bulbs: If you have existing fixtures you love, you might just need to replace the bulbs with smart versions. This is the easiest and often most cost-effective entry point. However, make sure your fixture’s socket type (E26, E12, GU10, etc.) matches the smart bulb.
- Smart modules/switches: Sometimes, it’s not the fixture itself that’s smart, but the switch controlling it, or a small module installed in the junction box behind a traditional fixture. This allows you to control non-smart lights with smart features. For a full ceiling light replacement, integrated fixtures or smart bulbs are usually the primary considerations.
When choosing, consider these factors:
- Connectivity: Most smart lights use Wi-Fi, Zigbee, or Bluetooth. Wi-Fi connects directly to your home network, while Zigbee and Bluetooth often require a hub (like Philips Hue Bridge or SmartThings Hub). Wi-Fi is generally simpler for standalone installations.
- Ecosystem compatibility: Do you use Google Assistant, Amazon Alexa, Apple HomeKit, or Samsung SmartThings? Ensure your chosen lights work with your preferred smart home platform. This is crucial for voice control and unified automation.
- Features: Do you want dimming, color changing (RGB), tunable white light (changing from warm to cool white), or motion sensing? More features often mean a higher price point.
- Lumen output and color temperature (CCT): Lumens tell you how bright the light is. CCT (measured in Kelvin) describes the warmth or coolness of the white light. For example, 2700K is warm white, while 5000K is cool daylight. Match these to the room’s purpose.
Essential Tools and Materials
Having the right tools ready prevents frustrating pauses during installation. Here’s a typical checklist:
- Voltage tester (non-contact preferred): Absolutely essential for safety to confirm power is off.
- Screwdrivers: Phillips and flathead, various sizes. A multi-bit driver is handy.
- Wire strippers: For stripping insulation off wires if necessary.
- Wire nuts: If new ones aren’t included with your fixture, or if your old ones are damaged.
- Electrical tape: For extra insulation on wire connections, if desired.
- Pliers: Needle-nose or lineman’s pliers for twisting wires.
- Ladder or sturdy step stool: Reach safely.
- Gloves: Work gloves for grip and protection.
- Safety glasses: Protect your eyes from dust or falling debris.
- Pencil and measuring tape: For marking placement if needed.
- Your new smart light fixture(s).
- Your smartphone/tablet: For setup and configuration after installation.
- Helper (optional but recommended): An extra set of hands can make holding the fixture much easier.
Safety First: Powering Down and Testing
Before you touch any wires, this is the most critical step. Electrical work can be dangerous if not done correctly. Don’t rush this part.
Locating Your Breaker Box
Your home’s electrical panel, or breaker box, is usually found in a utility closet, basement, garage, or even outside. Each breaker switch controls a specific circuit in your home. You’ll need to identify the one that powers the light fixture you’re working on.
Shutting Off the Power
Once you’ve found your breaker box:
- Turn on the light fixture you’re working on. This makes it easier to confirm when the power is off.
- Go to the breaker box.
- Flip the main breaker for that specific room or circuit to the “OFF” position. If your breakers aren’t labeled, you might need to flip a few until the light fixture turns off. If you’re unsure, or if your home’s wiring is old, it’s safer to flip the main household breaker to turn off all power, though this isn’t usually necessary for a single fixture replacement.
- Important: After flipping the breaker, go back to the light switch and try to turn the light on. It should remain off.
Confirming No Power with a Voltage Tester
Just because the light switch doesn’t turn the light on doesn’t mean there’s no power in the wires. A faulty switch or incorrect wiring could still leave live wires. This is where your non-contact voltage tester comes in:
- Test your voltage tester: Briefly test it on a known live outlet or light fixture to ensure it’s working correctly. It should beep or light up.
- Test the fixture wires: Carefully unscrew and lower the existing light fixture (if it’s already disconnected from the ceiling). With the wires exposed, place the tip of the voltage tester near each individual wire coming out of the ceiling box. It should not beep or light up. Test the ground wire, the black (hot) wire, and the white (neutral) wire.
- Double-check: If the tester indicates power on any wire, stop immediately. Go back to the breaker box and try a different breaker, then re-test. Do not proceed until you are absolutely certain there is no power.
Removing the Old Fixture
With the power confirmed off, you can now safely remove the old light fixture. This process is fairly standard across most ceiling lights.
Disconnecting the Wires
- Support the old fixture: If it’s heavy or large, have your helper hold it, or carefully rest it against the ceiling while you work.
- Locate the wire connections: Inside the canopy of the old fixture, you’ll see wires connected with wire nuts. Typically, you’ll find:
- Black to Black: Hot wire connection.
- White to White: Neutral wire connection.
- Green or Bare Copper to Green/Bare Copper: Ground wire connection. The fixture’s ground wire might be connected to a screw on the mounting bracket or directly to the house ground wire.
- Remove the wire nuts: Twist them counter-clockwise to remove them from the twisted wire connections.
- Separate the wires: Carefully untwist and separate the wires of the old fixture from the house wiring.
- Remove the ground screw (if applicable): If the ground wire is attached to a screw on the fixture or mounting bracket, unscrew it.
Detaching the Mounting Bracket
Once the wires are disconnected, the old fixture will be free from the house wiring.
- Support the fixture: If you haven’t already, ensure the fixture is fully supported so it doesn’t fall.
- Unscrew the mounting screws: The fixture itself is usually held to a mounting bracket, which in turn is screwed into the electrical junction box in the ceiling. Remove the screws that hold the fixture to the bracket.
- Remove the old mounting bracket: Once the fixture is down, you can unscrew the old mounting bracket from the junction box. You may or may not need to reuse this, depending on your new fixture. Most new fixtures come with their own bracket designed for optimal installation.
Inspecting the Junction Box and Wiring
With the old fixture and bracket removed, take a moment to inspect the junction box in your ceiling.
- Is it securely mounted? It should be firmly attached to a joist or brace. If it’s loose or damaged, it might need to be reinforced or replaced, which is a job for an electrician.
- Are the house wires in good condition? Look for any frayed insulation, exposed copper (beyond the stripped ends), or signs of burning. If you see any damage, don’t proceed; call an electrician.
- Identify the wires: Re-confirm you have a black (hot), white (neutral), and bare copper or green (ground) wire. In some older homes, you might encounter different colored wires (e.g., red), or no ground wire. If in doubt, consult an electrician.
Installing the New Smart Fixture
Now for the exciting part: putting up your new smart light. This process is essentially the reverse of removal, with some smart tech considerations.
Attaching the New Mounting Bracket
- Unpack your new fixture: Lay out all the components, including the new mounting bracket.
- Align the bracket: Most new fixtures come with a crossbar or mounting bracket that screws directly into the electrical junction box in the ceiling. Align the holes on the bracket with the screw holes in the junction box.
- Secure the bracket: Use the screws provided with the new fixture to firmly attach the mounting bracket to the junction box. Ensure it’s level and secure; this bracket will bear the weight of your new light.
Connecting the Wires
This is the most critical step for functionality and safety. Always connect ground first, then neutral, then hot.
- Prepare the wires: Ensure the ends of the house wires and the fixture wires have about 1/2 to 3/4 inch of insulation stripped off, exposing clean copper. If they’re too long or too short, use your wire strippers to adjust them.
- Connect the Ground Wire:
- Locate the bare copper or green wire from your ceiling (house ground).
- Locate the bare copper or green wire from your new fixture (fixture ground).
- Twist these two wires together clockwise with your pliers.
- Secure them with a wire nut, twisting the nut clockwise until it’s tight and no bare copper is showing.
- Self-test: Gently tug on the wires; they should not come apart.
- If your fixture has a ground screw on the mounting bracket, connect the fixture’s ground wire to this screw first, then twist the house ground wire with a short pigtail wire from the screw.
- Connect the Neutral Wire:
- Locate the white wire from your ceiling (house neutral).
- Locate the white wire from your new fixture (fixture neutral).
- Twist these two wires together clockwise.
- Secure them with a wire nut, twisting clockwise until tight.
- Self-test: Gently tug on the wires.
- Connect the Hot Wire:
- Locate the black wire from your ceiling (house hot).
- Locate the black wire from your new fixture (fixture hot).
- Twist these two wires together clockwise.
- Secure them with a wire nut, twisting clockwise until tight.
- Self-test: Gently tug on the wires.
- Tuck the wires: Carefully fold the connected wires and wire nuts into the junction box, ensuring they don’t get pinched or snagged by the fixture itself. Make sure no bare copper is exposed outside of the wire nuts.
Securing the Fixture to the Bracket
With the wires safely connected and tucked away, you can now attach the fixture.
- Align the fixture: Carefully lift the new smart light fixture and align its mounting holes or screws with the corresponding points on the mounting bracket you just installed.
- Attach the fixture: Use the screws or hardware provided with your new fixture to secure it firmly to the mounting bracket. Ensure it’s flush with the ceiling and stable. Avoid overtightening, especially with plastic components, but make sure there’s no wobbling.
- Install any decorative elements: If your fixture has a glass cover, diffuser, or other decorative trim, install those now according to the manufacturer’s instructions.
Smart Configuration and Troubleshooting
The physical installation is only half the battle. Now it’s time to make your light smart!
Initial Power-Up and Functionality Check
- Restore power: Go back to your breaker box and flip the breaker for that circuit back to the “ON” position.
- Test the switch: Go to the light switch and turn it on. The light should illuminate.
- Check for issues:
- Light doesn’t turn on: Go back to the breaker, turn it off, and re-check all your wire connections. Ensure they are tight and correct. Also, verify if the fixture itself needs to be turned on initially via a pull chain or other integrated switch before smart control.
- Light flickers or buzzes: Turn off the breaker immediately. This could indicate a loose connection, incompatible dimmer (if you reused one), or a faulty fixture. Re-check connections.
- Light turns on, but only briefly: Again, power off and check connections. Sometimes, initial power cycling is required for smart devices.
Connecting to Your Smart Home Ecosystem
This process will vary slightly depending on your specific brand of smart light and your smart home hub (e.g., Google Home, Amazon Alexa, Apple HomeKit, SmartThings). Always refer to the manufacturer’s instructions.
- Download the app: Most smart lights require their own dedicated app (e.g., Philips Hue, Wiz, TP-Link Kasa, Meross). Download this to your smartphone or tablet.
- Create an account: You’ll likely need to create a user account within the app.
- Start pairing mode: Your light fixture will usually enter a “pairing” or “discovery” mode when it’s first powered on, or after being turned on and off a few times from the wall switch. The light might flash or pulse to indicate it’s ready.
- Add device in the app: Follow the prompts in the light’s dedicated app to “add a device” or “discover new lights.” The app will guide you through connecting the light to your home Wi-Fi network (if it’s a Wi-Fi direct device) or to your smart hub (if it’s Zigbee/Z-Wave). You’ll typically enter your Wi-Fi password.
- Rename and customize: Once connected, the app will let you name your light (e.g., “Kitchen Overhead,” “Living Room Ceiling”) and access its smart features like dimming, color changes, and scheduling.
- Integrate with your main smart home platform:
- Google Home/Amazon Alexa: Open your Google Home or Alexa app. Go to “Add device” or “Set up device.” Look for the option to link a “Works with Google/Alexa” device. Select the brand of your smart light and sign in with the account you created in the light’s dedicated app. Your new light should then appear in your main smart home app.
- Apple HomeKit: If your light is HomeKit-compatible, you’ll typically scan a HomeKit code on the fixture or its packaging using the Home app on your iPhone/iPad.
- SmartThings: Open the SmartThings app, go to “Add device,” and search for your light’s brand. Follow the in-app instructions.
Common Smart Light Troubleshooting
- Light not found during pairing:
- Ensure your Wi-Fi network is 2.4 GHz (most smart lights don’t support 5 GHz Wi-Fi during initial setup).
- Move closer to your Wi-Fi router.
- Cycle power to the light (turn it off at the wall switch for 10 seconds, then back on).
- Check your router’s settings to ensure device isolation or firewall rules aren’t blocking new connections.
- Light loses connection:
- Check your Wi-Fi signal strength at the fixture’s location.
- Ensure your router firmware is up to date.
- Consider a Wi-Fi extender if the fixture is far from the router.
- Voice commands not working:
- Confirm the light is linked correctly in your Google Home/Alexa/HomeKit app.
- Try renaming the light to something simpler that your voice assistant can easily understand.
- Ensure your voice assistant device (Echo, Google Home speaker) is online.
- Delayed responses:
- Could be Wi-Fi congestion or a slow internet connection.
- If using a hub (Zigbee/Z-Wave), ensure the hub is optimally placed.
- Fixture doesn’t behave as expected (e.g., doesn’t dim or change color):
- Verify the light’s features in its dedicated app.
- Ensure the wall switch is always left in the “ON” position for smart functionality. If you’re using a smart switch in conjunction with a smart fixture, ensure they are compatible and configured correctly (sometimes a smart switch needs to be set to “bulb mode” to simply provide continuous power).
Patience is key during the configuration phase. Smart home ecosystems can be finicky, but once set up, they offer a tremendous convenience and control. Enjoy your brighter, smarter home!